We are very pleased to announce the release of Gii extension version 2.2.0.
This release adds support for via() junction relations in model generator.
See the CHANGELOG for details.
We are very pleased to announce the release of Gii extension version 2.2.0.
This release adds support for via() junction relations in model generator.
See the CHANGELOG for details.
We are very pleased to announce the release of Yii Framework version 2.0.34. Please refer to the instructions at https://www.yiiframework.com/download/ to install or upgrade to this version.
Version 2.0.34 is a minor release of Yii 2.0 that fixes regressions introduced by 2.0.33.
Thanks to all Yii community members who contribute to the framework, translators who keep documentation translations up to date and community members who answer questions at forums.
There are many active Yii communities so if you need help or want to share your experience, feel free to join them.
A complete list of changes can be found in the CHANGELOG.
By default there is no page size selector for Yii2 in multi page listings created with widgets like DetailView etc. This extension adds such a functionality in popular javascript DataTables-like style without jQuery.
The extension is simple to use and fully customizable to fit your page layout.
PHP version >=5.6
All modern browsers and IE.
Yii2 versions >=2.0.*
The preferred way to install this extension is through composer.
Either run
php composer.phar require --prefer-dist olegbolden/yii2-show-n-pages-widget "*"
or add
"olegbolden/yii2-show-n-pages-widget": "*"
to the require section of your composer.json file.
Once the extension is installed, simply use it in your View code by:
<?= \olegbolden\showNpages\widgets\PageSizeWidget::widget([options]); ?>
Actual page size for your data provider is available with the following call
$dataProvider = new ActiveDataProvider([
    'query' => $query,
    'pagination' => [
        'pageSize' => \olegbolden\showNpages\helpers\PageSizeStorage::getPageSize('statistics')
    ]
]);
where optional argument 'statistics' (default is 'main') specifies section identifier for the corresponding widget.
The following options are available
lang
Language settings
`php
'lang' => [
PageSizeWidget::LANG_SHOW    => 'Показать',
PageSizeWidget::LANG_ENTRIES => 'записей',
PageSizeWidget::LANG_ALL     => 'Все',
]
`
section
Optional parameter to distinguish between widgets for different sections
of your site to set independent page size settings for each.
`php
'section' => 'statistics'
`
pageSizes
Custom set of predefined page sizes in case you are not satisfied with the default one.
It is useful if you want to exclude option "all" among page sizes in case your
data set is very big and there is no sense to show all items on the only page.
`php
'pageSizes' => [10, 50, 100]
`
wrapperClass / innerClass
Style classes for the widget to fit in your page.
For example, styles specified as
`php
'wrapperClass' => 'pull-right',
'innerClass' => 'pageSelector'
will give the following layouthtml
<span class="pageSelector">Show <select name="pageSize">
        <option value="10">10</option>
        ...
        <option value="1000000">All</option>
    </select> items</span>
`
This is a simple and flexible module for creating\updating background tasks of cron application. It is designed to work with yii2 console controllers and description provides some advice to work with them.
Via composer
composer require --prefer-dist gaxz/yii2-cron-manager
or add to your composer.json
"gaxz/yii2-cron-manager": "*"
and
composer install
Add the code below to your web and console config files:
'modules' => [
    'crontab' => [
    	'class' => 'gaxz\crontab\Module'
    ],
]
And finally
php yii migrate --migrationNamespaces=gaxz\\crontab\\migrations
Also make sure that cron is installed and running.
Module requires a list of routes to yii2 console controllers. The list is used in gui to set up background tasks and form crontab lines. You can specify this by passing the controller classname with namespace into config file:
'source' => 'app\commands\HelloController'
or an array
'source' => [
    'console\controllers\EmailController',
    'console\controllers\UserController',
],
Module will parse controllers and form list of routes. Excluding actions from list if needed:
'exclude' => [
	'/email/send'
],
or you can specify routes manually
'routes' => [
    '/console/email/send',
    '/console/user/proccess-order'
]
It is important to add "/" at the start to provide an absolute route. Don't forget to apply changes to both console and web configuration files.
Now you can manage background tasks in the module section of your application.
If your background task is using parameters you can add them as a json string in gui, then pass to controller action and decode.
public function actionTest($params)
{
    $params = json_decode($params, true);
    print $params['message'] . PHP_EOL;
    return ExitCode::OK;
}
It is important to use PHP_EOL to write readable output to logs. Also module is using ExitCode class to normalize return values and it's recommended to design your actions accordingly to ExitCode constants. You can use them in exceptions as well:
if (empty($model)) {
    throw new Exception('Unable to find model', ExitCode::DATAERR);
}
You don't need to try-catch exceptions since module is doing it by itself. This will form readable logs that are comfortable to support and search through.
Will be useful to check crontab file of php user to check if everything works correctly.
crontab -e -u www-data
Warning! Before you update settings that change crontab line (e.g phpBin, yiiBootstrapAlias, outputSetting), disable all of your active cron tasks.
Duplicating output to a file or STDOUT\STDERR:
'modules' => [
    'crontab' => [
    	'class' => 'gaxz\crontab\Module'
    	...
        'outputSetting' => '>> /var/log/app.log'
        ...
    ],
]
will form:
php yii /crontab/exec 1 >> /var/log/app.log
Setting path to php binary file manually:
'phpBin' => '/usr/bin/php'
Writing configs of crontab file:
'headLines' => [
    'SHELL=/bin/sh',
    'PATH=/usr/bin:/usr/sbin',
],
Setting crontab username This will work only in case PHP script is running from privileged user (e.g. 'root')
'crontabUsername' => 'www-data',
Setting path to yii bootstrap file
'yiiBootstrapAlias' => '@app/yii'
This is not my work, this repository created by johitvn, but because I (and maybe some other people) need to optimize this Gii Template with BS4, so I create new repository to accomodate it. If johitvn already merge my PR, I will delete this repository.


Gii CRUD template for Single Page Ajax Administration for yii2

The preferred way to install this extension is through composer.
Either run
php composer.phar require --prefer-dist hoaaah/yii2-ajaxcrud-bs4 "*"
or add
"hoaaah/yii2-ajaxcrud-bs4": "*"
to the require section of your composer.json file.
For first you must enable Gii module Read more about Gii code generation tool
Because this extension used kartik-v/yii2-grid extensions so we must config gridview module before
Let 's add into modules config in your main config file
``php
'modules' => [
'gridview' =>  [
    'class' => '\kartik\grid\Module'
]
]
``
You can then access Gii through the following URL:
http://localhost/path/to/index.php?r=gii
and you can see Ajax CRUD Generator
Other Links Free download wordpress theme Free download html template

This is a a REST API TEMPLATE with Yii2. This template use Yii2-Micro approach so it will be lightweight and easy to deploy.
The preferred way to install this template is through composer.
Either run
composer create-project --prefer-dist hoaaah/yii2-rest-api-template [app_name]
Setup your database configuration from config/db.php. Create your database because this template will not create it for you :)
<?php
return [
    'components' => [
        'db' => [
            'class' => 'yii\db\Connection',
            'dsn' => 'mysql:host=localhost;dbname=your_db_name',
            'username' => 'root',
            'password' => '',
            'charset' => 'utf8',
        ],
    ],
];
Then run migration to create table in selected database.
yii migrate
Since this template use MicroFramework approach, directory structure might be a little bit different from Yii2.
  config/             contains application configurations
  controllers/        contains Web controller classes
  migration/          contains list of your migration files
  models/             contains model classes
  modules/            contains your rest-api versioning (based on modules)
  vendor/             contains dependent 3rd-party packages
  web/                contains the entry script and Web resources
This template use modules as versioning pattern. Every version of API saved in a module. This template already have v1 module, so it means if consumer want to use v1 API, it can access https://your-api-url/v1/endpoint.
This template support 3 most used authentication. (Actually it's not me who make it, Yii2 already support it all :D ).
This template already have basic endpoint that you can use to start your REST-API. Such as:
| Endpoint | Type | Usage |
|---|---|---|
| https://YOUR-API-URL/ | GET | list all post created |
| https://YOUR-API-URL/view?id={id} | GET | View a post |
| https://YOUR-API-URL/login | POST | Login with username and password |
| https://YOUR-API-URL/signup | POST | Signup with username, email and password |
| https://YOUR-API-URL/v1/post | GET | List all post created |
| https://YOUR-API-URL/v1/post/create | POST | Create a new post (title, body) |
| https://YOUR-API-URL/v1/post/update?id={id} | PUT / PATCH | Update a post (title, body) |
| https://YOUR-API-URL/v1/post/delete?id={id} | DELETE | Delete a post |
| https://YOUR-API-URL/v1/post/view?id={id} | GET | View a post |
This template give you versioning scenario based on module application. In Yii2 a module are self-contained software units that consist of model, views, controllers and other supporting components. This template already have v1 module, it means all of endpoint for API v1 created in this module. When you publish a new API version (that break backward compatibility / BBC), you can create a new module. For more information create a module, you can visit this Yii2 Guide on Creating Module.
Feel free to contribute if you have any idea.
This Template was created by and is maintained by Heru Arief Wijaya.
This packages contans an Asset Bundle of Startbootstrap SB Admin 2 for Yii2.
Startbootstrap SB Admin 2 is a responsive Bootstrap 4 created by Start Bootstrap.

Start Bootstrap was created by and is maintained by David Miller, Owner of Blackrock Digital.
Start Bootstrap is based on the Bootstrap framework created by Mark Otto and Jacob Thorton.
This Asset Bundle need Bootstrap 4. Since Yii2 used Bootstrap 3 by default, you must install and change every Bootstrap 3 Asset to Bootstrap 4. You can read this tutorial to migrate to Yii2 Bootstrap 4 :
The preferred way to install this extension is through composer.
Either run
composer require hoaaah/yii2-startbootstrap-sb-admin-2-asset:dev-master
or add
"hoaaah/yii2-startbootstrap-sb-admin-2-asset": "*"
to the require section of your composer.json file.
You can see views-examples folder for example use of this library
You can use Menu widget in your sidebar. This widget optimize for Startbootstrap SB-Admin 2 template. This widget, like SB-Admin 2, only support 2 level menu.
You can see example use of this widget in views-exampale/views/layout/sidebar.php.
`php
use hoaaah\sbadmin2\widgets\Menu;
echo Menu::widget([
'options' => [
    'ulClass' => "navbar-nav bg-gradient-primary sidebar sidebar-dark accordion",
    'ulId' => "accordionSidebar"
], //  optional
'brand' => [
    'url' => ['/'],
    'content' => <<<HTML
        <div class="sidebar-brand-icon rotate-n-15">
        <i class="fas fa-laugh-wink"></i>
        </div>
        <div class="sidebar-brand-text mx-3">SB Admin <sup>2</sup></div>
HTML
],
'items' => [
    [
        'label' => 'Menu 1',
        'url' => ['/menu1'], //  Array format of Url to, will be not used if have an items
        'icon' => 'fas fa-fw fa-tachometer-alt', // optional, default to "fa fa-circle-o
        'visible' => true, // optional, default to true
        // 'options' => [
        //     'liClass' => 'nav-item',
        // ] // optional
    ],
    [
        'type' => 'divider', // divider or sidebar, if not set then link menu
        // 'label' => '', // if sidebar we will set this, if divider then no
    ],
    [
        'label' => 'Menu 2',
        // 'icon' => 'fa fa-menu', // optional, default to "fa fa-circle-o
        'visible' => true, // optional, default to true
        // 'subMenuTitle' => 'Menu 2 Item', // optional only when have submenutitle, if not exist will not have subMenuTitle
        'items' => [
            [
                'label' => 'Menu 2 Sub 1',
                'url' => ['/menu21'], //  Array format of Url to, will be not used if have an items
            ],
            [
                'label' => 'Menu 2 Sub 2',
                'url' => ['/menu22'], //  Array format of Url to, will be not used if have an items
            ],
        ]
    ],

    [
        'label' => 'Menu 3',
        'visible' => true, // optional, default to true
        // 'subMenuTitle' => 'Menu 3 Item', // optional only when have submenutitle, if not exist will not have subMenuTitle
        'items' => [
            [
                'label' => 'Menu 3 Sub 1',
                'url' => ['/menu21'], //  Array format of Url to, will be not used if have an items
            ],
            [
                'label' => 'Menu 3 Sub 2',
                'url' => ['/menu22'], //  Array format of Url to, will be not used if have an items
                'linkOptions' => [
                   'onClick' => 'alert("This is onClick")',
                ]
            ],
        ]
    ],
]
]);
`
As you can see in above example, this Widget consist of two primary method.
| Method | Explanation |
|---|---|
options | Optional method. in this metod you will set any costumization of this Menu widget. It consist of ulClass method and ulId method |
-- ulClass | Set your <ul> class of this menu. default to "navbar-nav bg-gradient-primary sidebar sidebar-dark accordion" |
-- ulId | Set your <ul> id of this menu. default to "accordionSidebar" |
items | Required method. You must set this method in your widget. You can set items inside this method and it will create sub-menu items. Items and Sub Menu Item method use the same method, except for type method. |
-- type | Optional parameter, there are 3 category in this params. They are menu, divider, and sidebar. Default value of this params are menu |
-- label | Required parameter. This param will give label to your menu |
-- icon | Optional parameter. Will use font-awesome icon, so the value of this param will use fa class. Default to fas fa-circle |
-- url | Required parameter. Use Array value, like array on \yii\helpers\Url::to($array). If there are items parameter set, url will be ignored |
-- visible | Optional paremeter. Determined the visibility of menu. Value of visible are boolean. Default to true |
-- linkOptions | Optional paremeter. This param use array, give any options param to a tag, such as onClick or other options in link. |
You can use card widget. This widget will create bootstrap card, optimize for this template
Example use of card are like below code
`php
use hoaaah\sbadmin2\widgets\Card;
echo Card::widget([
'type' => 'cardBorder',
'label' => 'Label',
'sLabel' => '1000',
'icon' => 'fas fa-calendar',
'options' => [
    'colSizeClass' => 'col-md-3',
    'borderColor' => 'primary',
]
]);
`
As you can see in above example, this Widget consist of some method.
| Method | Explanation |
|---|---|
type | Optional method. In this method you set type of your card. This widget support this type of card: cardBorder, ..... Default value of type is cardBorder |
label | Required method. In this method you set primary label of your card |
sLabel | Required method. In this method you set secondary label of your card |
icon | Required method. In this method you set icon of your card |
options | options method. Set options, available options are colSizeClass, borderColor |
-- colSizeClass | Set your col-size, value of this method are bootstrap col-size |
-- borderColor | Set your borderColor, value of this method are bootstrap color |
Todo Widget
This asset wrapper was created by and is maintained by hoaaah.
This library can be used to read mails from IMAP server using PHP and Yii2.
{
    "require": {
       "roopz/yii2-imap": "dev-master"
    }
}

Or

$ composer require roopz/yii2-imap "dev-master"
'imap' => [
    'class' => '',
    'connection' => [
        'imapPath' => '',
        'imapLogin' => '',
        'imapPassword' => '',
        'serverEncoding' => 'utf-8',
        'searchEncoding' => 'US-ASCII',//MIME character set to use when searching strings. Not mandatory
        'attachmentsDir' => '/tmp',
        'decodeMimeStr' => false
    ]
]
[Send me a beer] (https://donorbox.org/yii2-imap)
Feel free to contribute. If you have ideas for examples, add them to the repo and send in a pull request.
Dont forgett o Leave me a "star" if you like it. Enjoy coding!
...overview of the extension...
...requirements of using this extension (e.g. Yii 2.0 or above)...
...how to install the extension (e.g. composer install extensionname)...
...how to use this extension...
...can use code blocks like the following...
$model=new User;
$model->save();
DELETE THIS SECTION IF YOU DO NOT HAVE IT
...external resources for this extension...
This extension gives you a variation of categories module,
in which the opportunity to create any your own `Active Record` category models was given.
We suggest that when creating pages at frontend to display associated content of the category (or tag) we would need to manage SEO information of such category page.
Respectively we add next fields to our SEO category `Active Record` model:
With all this in module's settings you may choose not to use
`meta_other`or
`slug`fields and they will not appear in the web form of creating/editing SEO category 
The preferred way to install this extension is through composer.:
Either run
composer require --prefer-dist mgrechanik/yii2-seo-categories
or add
"mgrechanik/yii2-seo-categories" : "~1.0.0"
to the require section of your composer.json
This extension comes with two migrations:
`slug` fieldYou can run both of them:
php yii migrate --migrationPath=@vendor/mgrechanik/yii2-seo-categories/src/console/migrations
, or when you do not use `slug` field run only the first migration:
php yii migrate 1 --migrationPath=@vendor/mgrechanik/yii2-seo-categories/src/console/migrations
As was mentioned in the basic categories module,
this module follows the approach of universal module, and since it gives you
only backend pages when you set it up into your application specify the next `mode:php
'modules' => [
    'seocategory' => [
        'class' => 'mgrechanik\yii2seocategory\Module',
        'mode' => 'backend',
        // Other module settings
    ],
    // ...
],
Done. When you access ```/seocategory``` page you will see all your SEO categories in a form of tree.
---
## Module settings <span id="settings"></span>
[Setting up](#setup) the module into application, along with all properties of the [base categories module](https://github.com/mgrechanik/yii2-categories-and-tags#settings), we can use it's next properties:
#### ```$useMetaOtherField = false```
- Whether to use ```other meta tags``` field
#### ```$useSlugField = true```
- Whether to use ```slug``` field. It is supposed to be unique
#### ```$slugPattern```
- When we use previous field in this property we set up regular expression of expected symbols
#### ```$showTitleColumnAtIndexPage = true```
- Whether to display ```title``` field in the categories list grid
#### ```$showSlugColumnAtIndexPage = false```
- Whether to display ```slug``` field in the categories list grid
Yii 2 Composer plugin that handles many extension-related things behind the scenes, was updated to support upcoming Composer 2.
Update should not require any specific actions to be performed except issuing composer update command.

composer require ahmadasjad/yii2-widgets
<?php
echo \ahmadasjad\yii2Widgets\PlusMinusInput::widget([
    'name' => 'name_test',
    'plugin_options' => ['parser'=>'parseFloat', 'step'=>0.5]
]);
?>
Options to customize the plugin in plugin_options param:
[
    'val_min' => 0,
    'val_max' => 1000,
    'step' => 1,
    'parser' => 'parseInt',
    'container' => ['class' => 'input-group', 'id' => 'your-custom-id-container'],
    'plus' => ['id' => 'your-custom-id-plus', 'class' => 'btn btn-success', 'label' => '+',],
    'minus' => ['id' => 'your-custom-id-minus', 'class' => 'btn btn-danger', 'label' => '-',],
]
val_min Minimum value allowed for input
val_max Maximum value allowed for input
step How much value to be increased/decreased on press of plus/minus button
parser Javascript function to parse the input data. For example parseInt, parseFloat, etc.
plus configuration for plus button
minus configuration for plus button
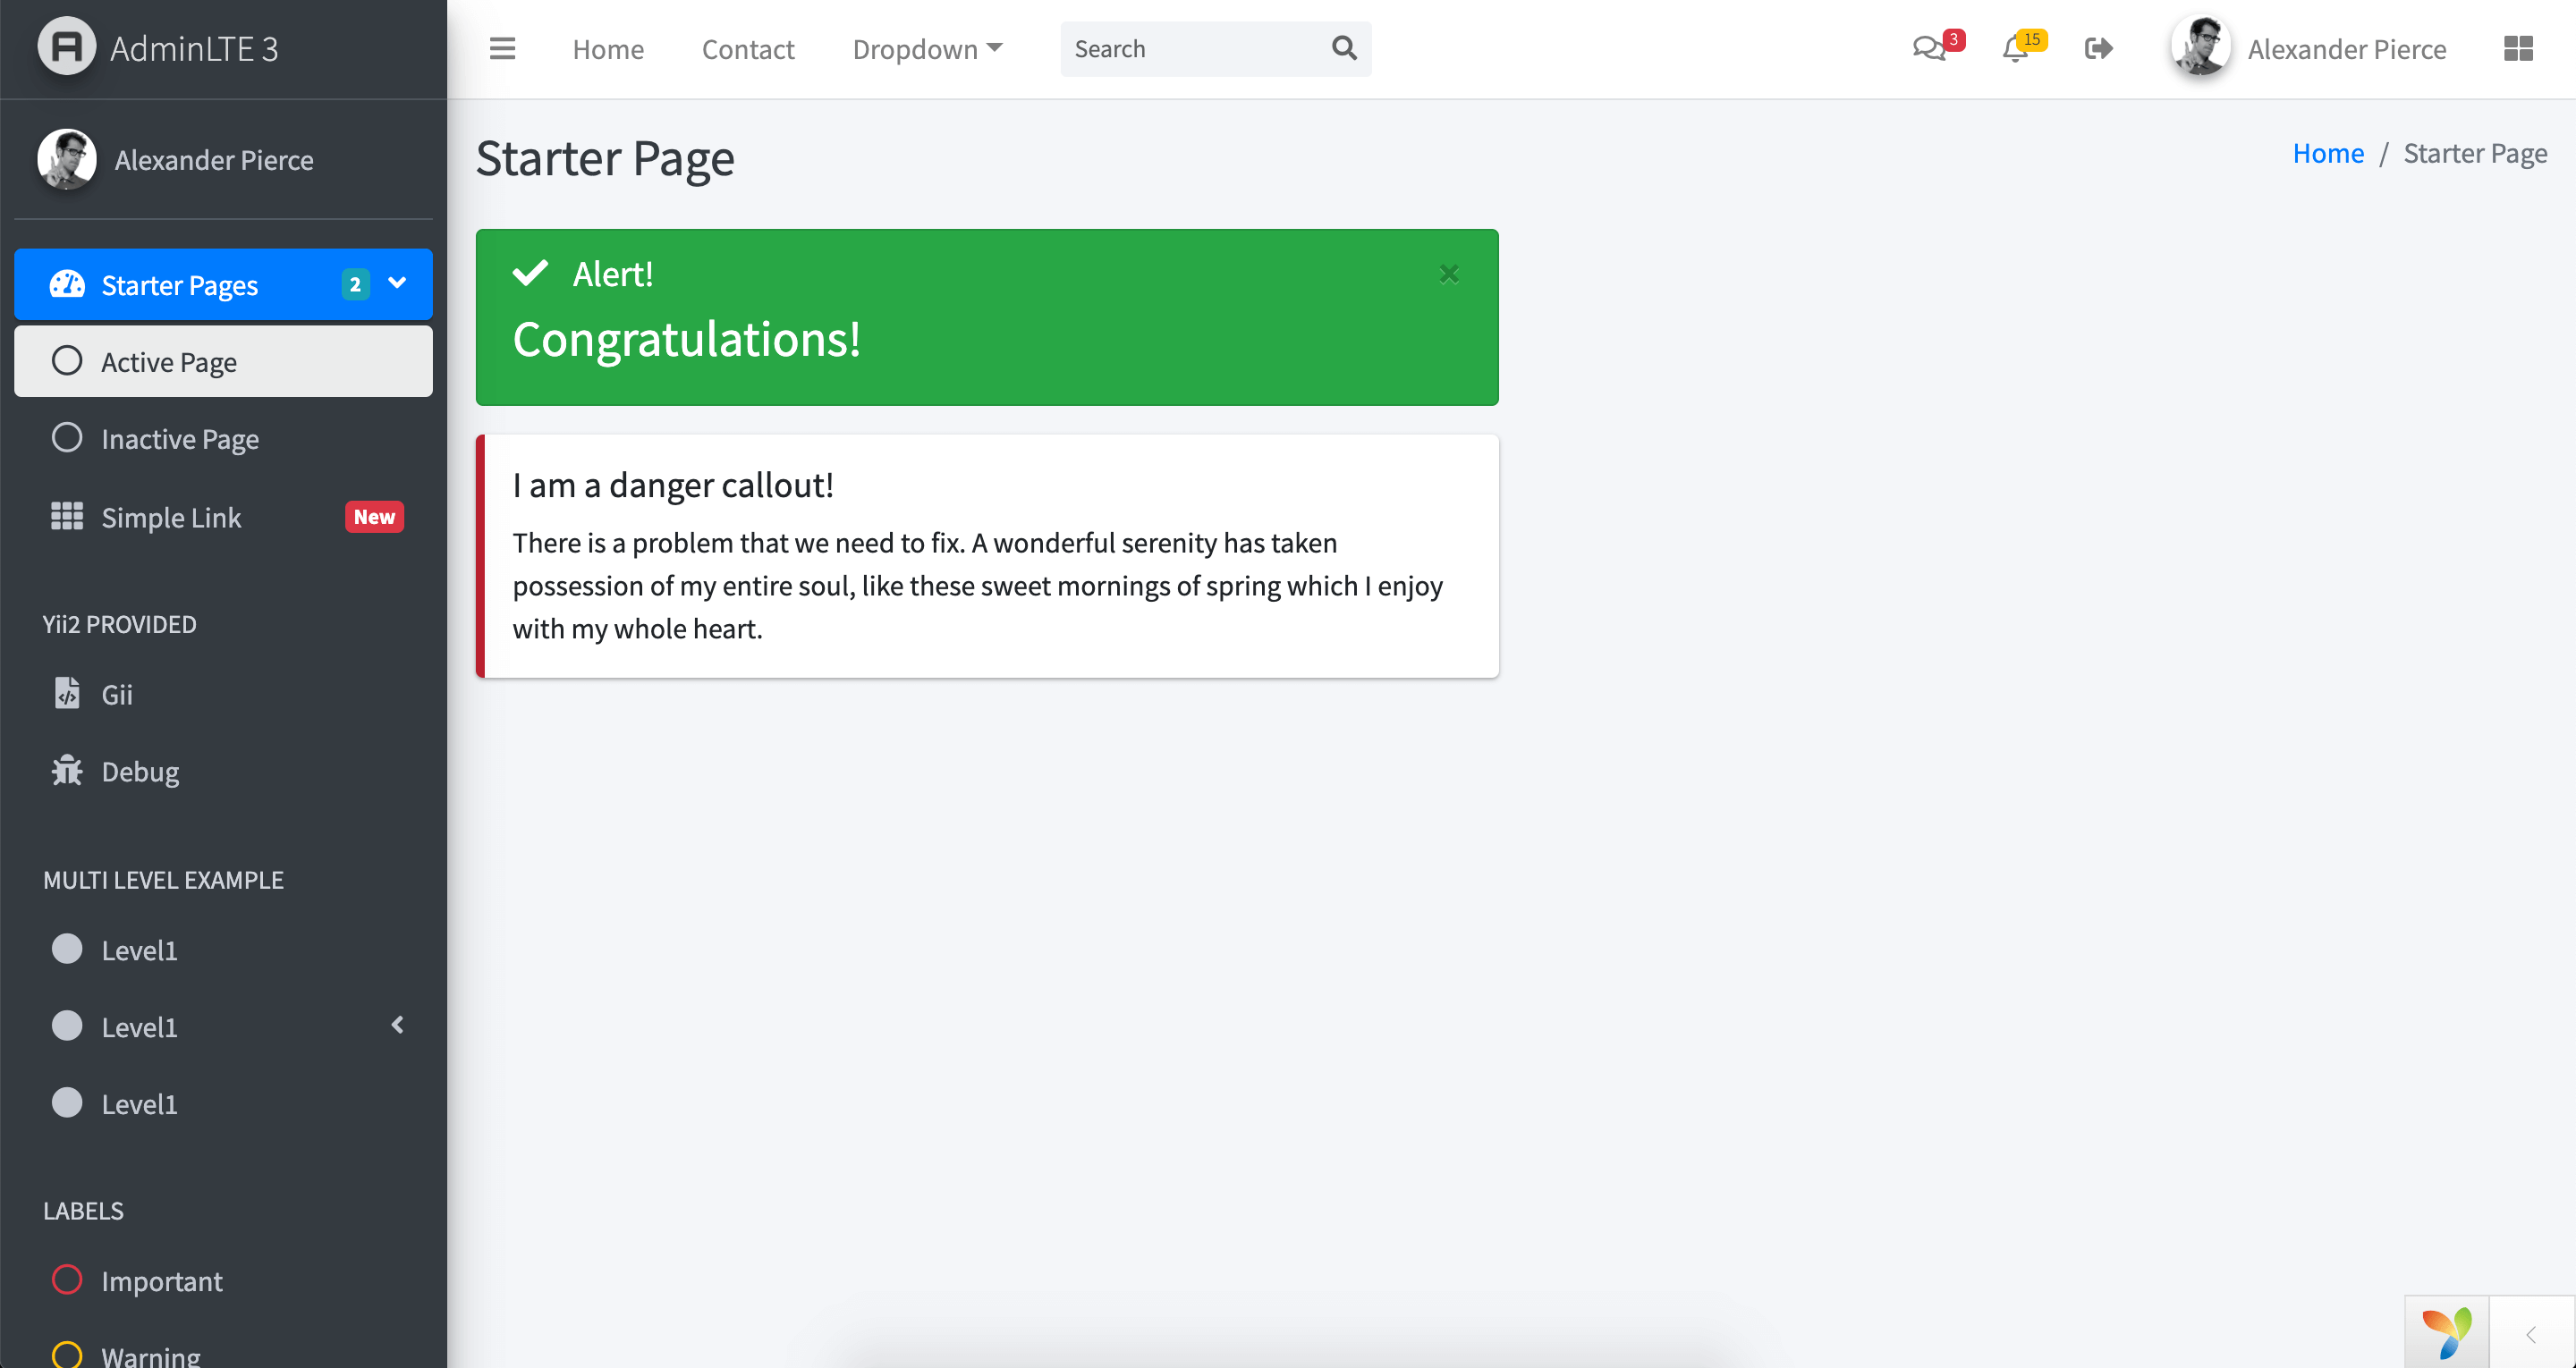
adminlte3 for yii2
The preferred way to install this extension is through composer.
Either run
php composer.phar require --prefer-dist hail812/yii2-adminlte3 "*"
or add
"hail812/yii2-adminlte3": "*"
to the require section of your composer.json file.
Once the extension is installed, you can config the path mappings of the view component:
'components' => [
    'view' => [
         'theme' => [
             'pathMap' => [
                '@app/views' => '@vendor/hail812/yii2-adminlte3/src/views'
             ],
         ],
    ],
],
Copy files from @vendor/hail812/yii2-adminlte3/src/views to @app/views, then edit.
simply use:
<?= \hail812\adminlte3\widgets\Alert::widget([
    'type' => 'success',
    'body' => '<h3>Congratulations!</h3>'
]) ?>
AdminLTE Plugins are not included in AdminLteAsset, if you want to use any of them you can add it dynamically with PluginAsset. For example:
/* @var $this \yii\web\View */

\hail812\adminlte3\assets\PluginAsset::register($this)->add('sweetalert2');
before this, maybe you should edit params.php:
return [
    'adminEmail' => 'admin@example.com',
    'hail812/yii2-adminlte3' => [
        'pluginMap' => [
            'sweetalert2' => [
                'css' => 'sweetalert2-theme-bootstrap-4/bootstrap-4.min.css',
                'js' => 'sweetalert2/sweetalert2.min.js'
            ]
        ]
    ]
];
or
/* @var $this \yii\web\View */

$bundle = \hail812\adminlte3\assets\PluginAsset::register($this);
$bundle->css[] = 'sweetalert2-theme-bootstrap-4/bootstrap-4.min.css';
$bundle->js[] = 'sweetalert2/sweetalert2.min.js';
Parsing and creating url with arguments pretified as well instead of in query string format. Route and argument segments of url are separated by the UrlManager->routeParam
Argument is prettified only if its name is declared as action method parameter otherwise it stay in query string format;
Arguments are orderer by the way corresponding action method parameters are declared;
Optional Argument nth binds to its corresponding action method parameter only if all arguments --nth are explicitly passed. --nth argments are inserted at their respective places in created url if were nor explicit;
Arguments less than required or more than action method parameters show 404
The preferred way to install this extension is through composer.
Either run
php composer.phar require --prefer-dist djidji/yii2-default-url-rule "*"
or add
"djidji/yii2-default-url-rule": "*"
to the require section of your composer.json file.
Once the extension is installed, simply use it in your code by declaring in rules of Urlmanager :
'rules' => [
    // ...other url rules...
    [
        'class' => 'djidji\DefaultUrlRule',
        // complete file path to save routes.
        'routesFile' => '@app/config/routes.php'
    ],
]
class PostController extends Controller
{
    public function actionIndex($category,$year=2015,$tag='')
    {

    }
    public function actionView($id)
    {

    }
}
Url::to(['post/index', 'year' => 2014, 'category' => 'php']) creates /index.php/post/index/r/php/2014 ;
Url::to(['post/index', 'category' => 'php']) creates /index.php/post/index/r/php;
Url::to(['post/index', 'category' => 'php','tag'=>'programming']) creates /index.php/post/index/r/php/2015/programming. default value of parameter 'year' is inserted at its place;
Url::to(['post/index','year' => 2014]) result to false because the argument for required $category parameter is not passed;
Url::to(['post/view', 'id' => 100]) creates /index.php/post/view/r/100 ;
Url::to(['post/view', 'id' => 100, 'source' => 'ad']) creates creates /index.php/post/view/r/100?source=ad. Because "source" argument is not declared as actionView methoth, it is appended as a query parameter in the created URL.
/index.php/post/index result to false because actionIndex has required firs parameter that need argments to be passed.
/index.php/post/index/r/php is parsed to ['post/index', ['category' => 'php']] ;
/index.php/post/index/r/php/2015/programming is parsed to ['post/index', ['category' => 'php','tag'=>'programming','year'=>2015]] ;
/index.php/post/index/r/php/programming is parsed to ['post/index', ['category' => 'php','year'=>'programming']] ;
/index.php/post/view/r/100?source=ad is parsed to ['post/view', ['id' => 100]];
/index.php/post/view/r/100/ad?source=ad result to false because actionView method expect one argment instead of two.
We are very pleased to announce the release of Yii Framework version 2.0.35. Please refer to the instructions at https://www.yiiframework.com/download/ to install or upgrade to this version.
Version 2.0.35 fixes 13 issues and adds some small enhancements:
Query::withQuery() method that can be used for CTE.yii\i18n\Formatter::$currencyDecimalSeparator to allow setting custom symbols for currency decimal in IntlNumberFormatter.SameSite for cookies now works on PHP < 7.3.Thanks to all Yii community members who contribute to the framework, translators who keep documentation translations up to date and community members who answer questions at forums.
There are many active Yii communities so if you need help or want to share your experience, feel free to join them.
A complete list of changes can be found in the CHANGELOG.
We are very pleased to announce the release of Shell extension version 2.0.4. This version allows installing psy/psysh ~0.10.3.
We are very pleased to announce the release of the ApiDoc extension version 2.1.4.
This release add support for @property and @method annotations.
See the CHANGELOG for a full list of changes.
We are very pleased to announce the release of Gii extension version 2.2.1.
This release allows the usage of anonymous generators.
See the CHANGELOG for details.
We are very pleased to announce the release of Redis extension version 2.0.13.
This version adds Redis 5.0 stream commands.
See the CHANGELOG for details.
Injector can invoke methods or create objects resolving their dependencies from a PSR-11 container via autowiring. It can:
As one of the central parts of Yii 3 it is what does all the auto-wiring into action handlers and widgets.
Since is a framework-independent package, it can be used in any PHP project.


